Tuesday 24 April 2012

Upcyclyed dome light shades.


When we bought our home 6 months ago these were the light fixtures throughout the house...

They were on pendants, wall scones, 2 lounge room chandeliers and in the bedrooms. So I pulled them all off and put them into a box!
 I couldn't stand looking at them any longer they were so 80's ...and not in a good way!


- box of balls!

What did I do with them?

With a glue gun, some twine, pretty flowers, nails and hammer I made them into wall vases.


These could also be used as planters, candle holders, the list goes on... and on ...

I have more of these left so keep posted as to what I do with the rest of the damn balls.

:) Trash and Inspiration xo

Monday 23 April 2012

Please excuse me while I change in front of you!

 Sorry for the recent blog changes guys, I just wanted to make it easier
 to read and a little more funky!
Hope you like it :)

Trash and Inspiration xo

Sunday 22 April 2012

Magnetic Curtain Decor

I thought of this quick and simple little idea yesterday on my morning run.
I wanted an easy way to decorate my step daughters curtains without
a) buying anything new b) sewing and c) spending allot of time doing it,
 for her to then grow out of them... so instead I decided to make some little magnetic flowers.


With a wave of my glue gun I had these little beauties made and put on in under 10 minuets!

All you need is a glue gun, some paper or fabric flowers, 2 magnets per flower for the back and the front, and some buttons for the flower centre.
(As shown Above)


TICK TOCK....... Not long later.


Trash and Inspiration xo

A Perfect Pear.

With my glue gun addiction continued I found this nifty little idea on Pintrest.


A very easy and cute little pear to make from a recycled light globe.
All you need is a stick, a glue gun, a globe and some string.


Have fun :)

Trash and Inspiration. xo

Saturday 21 April 2012

Rope Light Shade

I was wondering through the discount store yesterday when I found a glue gun for $5Aus,
with a little more wandering I found some rope, some smaller brown string and finally I had an idea.
What if I tried to make a light shade for our hall?

First I started off with something to wrap it around and used the old globe shaped light shade - which I think is hideous! You could easily use a bowl too. Just check that it is the right size.


I used the glue gun to glue the end of the rope once it was wrapped around then
kept gluing the rope and wrapping as I went.
Note- You will need a packet of glue sticks for this as it take allot of glue and patience.

When I ran out of string I decided it needed something else so
 I found some brown twine and started gluing.

The final result was ...

I'm very impressed and maybe now a little glue gun addicted....
You can also use the same method over and existing shade.


Trash and Inspiration xo

Friday 20 April 2012

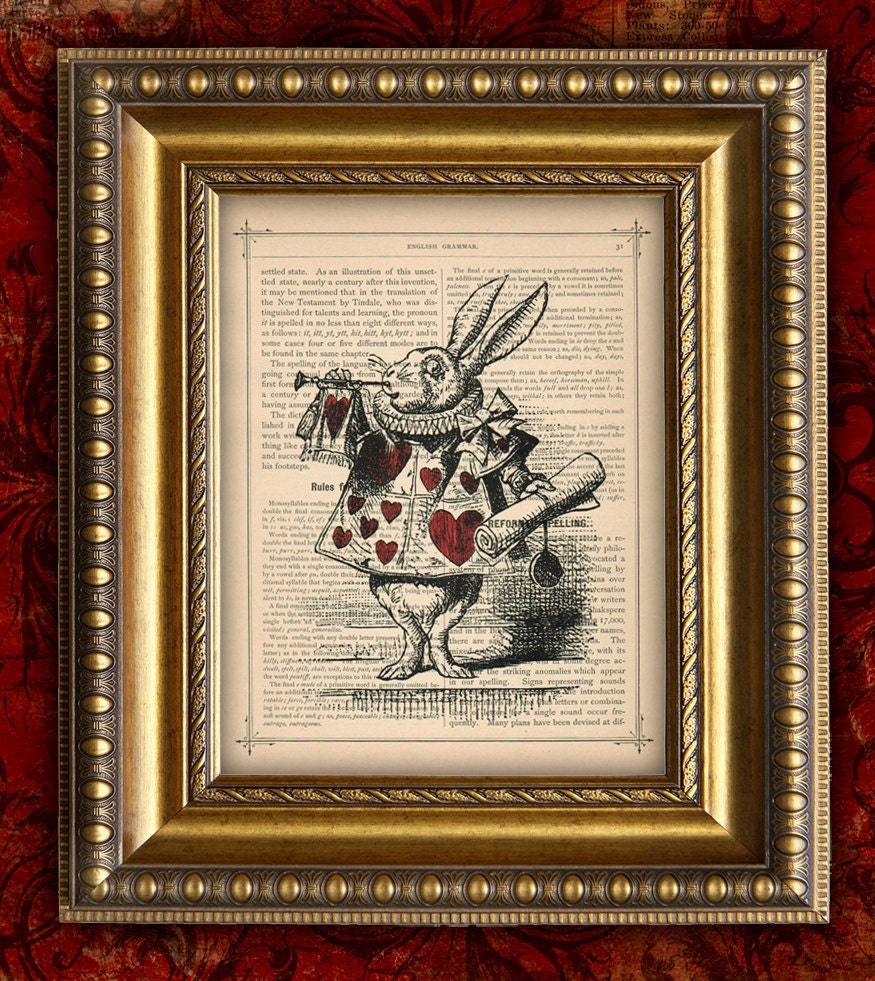
Alice In Wonderland Prints

I found this wonderful idea from Etsy.

White Rabbit ALICE In WONDERLAND Vintage Art Print Book on Page Art Print or Upcycled Recycled Dictionary Page Art Print 8x10

When I saw them I knew I wanted to make my own and all it took was -
1) Old book
2) Printer
3) Chosen image
4) Picture frame

I think in total it cost $5Aus for the frame and the other materials were around the home.


Trash and Inspiration xo

Chalk Board Kitchen

 When we first moved into our home the kitchen cupboards were the most awful green.
I'm sorry I can't provide you with a picture of this as I was scared it may
break my camera!

I ran through countless paint ideas and in the end decided that what ever I chose
would eventually change when we re-did the kitchen, and having two step children
The thought of a chalkboard kitchen hit me!

All it took was all the doors to be removed, sanded and painted.
I didn't bother with primer because well .. the paint was black.

So here's a peek!


Storage Curtain

So I was very sick of seeing all the things stored in our spare room / office so I decided to hide it all away.
Being one of my spirit of the moment ideas I had to hunt around the house to find something to use as a curtain.

                          ... I found a sheet and with a little sewing magic it went from this ....

To this ...


AHHHHHH....

Trash and Inspiration xo


Away with the faries...

Hi All!
Sorry I have been away for a while, this and that has been going on with life and
 I had to put a few projects on hold!

Good news is I've finished a few projects and have them ready to post for
 you so stay tuned....


Trash and Inspiration xo

Saturday 10 March 2012

String Pendant light

Hey all!
This would have to have been my favourite and most addictive project!
I stumbled across these amazing and easy to make lights when I wanted a new shade for our bedroom.

They can be made so unique this such cheap materials!

The inspiration started here...


I read through this article and thought "they look amazing and so easy."

So I grabbed my supplies!


Wood glue - you'll need a large bottle! $2Aus
String - I chose a thicker one for this shade for my other shade I chose a
thinner coloured string. $2Aus for 2 balls.
Cloth - to clean up and spilt glue.
Balloon, ball or something round and deflatable - Not pictured but for my larger shade I found some jumbo balloons $3Aus, but you could use a balloon or beach ball depending on the size you want?
Container - to soak string in glue.
Gloves - most important because it gets very very messy!!!

How to...
1) Blow up balloon or ball to desired size.

2) Unravel ball of string and soak in glue in the container. Make sure you have the gloves on fro this bit!

3) Start from the end of the balloon so you can tie on the string, if using a ball you will just have to hold it steady until you have wrapped the string around a few times to hold it into place. Keep going until you run out of string. Find somewhere to hang it and allow it to dry for a day.

4) The next day your balloon (if using one) may have popped. No fear, just pop in another balloon and blow it up! Follow step 1 - 3 again making sure you cover any missed patches with sting and making a strong enough top where the light will enter.

5) Once dry brush off any flaky glue, pop your balloon if necessary and light it up !!!


My first attempt with coloured string....

Love them xox!

Mother hen Doorstop

 I saw this cute little design in a store the other day and couldn't resist having a go!

I thought It would make an excellent gift and I can't wait to make more :)
I used some left over material and made 4 triangles, then I sewed them together, pinning in a little beak and crest before I sewed the front seam. Stuffed it with some fibre fill and pearl barley to weigh down the base. Hand sewed on button eyes and there you go.


My husband would like me to make matching baby's.... I'll keep you posted on that one ; )

Organized Sewing

It seems like I'm forever trying to find my sewing and craft items, needles, buttons ribbon etc.

So today seemed like the day to organise it all. With limited space I needed
something to hold all the bits and bobs in one compact unit....so I went hunting!

.....and I found just the thing! It was a wall mount I had hanging around for ever, the small partitions would be excellent to hold my craft and sewing items.


All it took was a few little jars for items such as cotton, buttons ans sewing tools. Two little buckets I found at a discount store for $2Au each and I made a made a pin cushion to fit one of the holes. Oh and my tea tins I had used as vases at our wedding!
Everything I need within reach of my sewing machine :)

Trash and Inspiration!

Friday 9 March 2012

Followers

Hey guys!

I know my blog is fairly new but it would great if you
could help me out and become followers!

Please feel free to share and post any ideas you have also the more inspiration 
we have the more trash we can turn to treasure!


Pot Rack.

I hate not being able to find what I'm after in a shop!

My solution? Trash and Inspiration!

I had this an old ladder laying around off the kids old bunk beds and doing a little research I found you could make an excellent pot rack out of an old ladder. I had been sick of bending down into one of the lower cupboards for pots for a while now so when I saw this idea a little light bulb went of!

I love rustic pre-loved and reused items so .... I made my own!


To make -

Something to hang it up - I used fibre rope, chain would also work.
Hooks - To fix to ceiling.
Paint - I repainted the ladder as it was grey.
Drill - This ladder already had holes for the bunk bed but you might need a drill to make
some to affix what you want to hang it with.
Metal hooks - To hang up the pots.

Trash and Inspiration!

Patchwork Owl

I'm always looking for something to make out of next to nothing so when I saw
a cute little owles like this in a store I couldn't resist!


This is my little creation for my stepson.
He loves it!

To make I used some scrap fabric we were give for my husband to use as rags.
I couldn't find a template online so instead I made my  own.
All the outer fabric I stiched on by hand, it took a while but the outcome was worth it.
I can't wait to make more now each with their own personality!
Hooot!

Pendant Light - Work in progress...

 Table Make over - Check
Decor Make over - Check
Lighting Make over ....

I found this light for $5 at the tip shop and I know it has potential!


Stay tuned to see what I come Up with!

Jar Votives

Hey All!
With the new table looking awesome I knew it was time for a table decor upgrade too.
I wanted to use some candles but I couldn't think of anything I had to put them into,
So me being me and not wanting to waste money I found some small jars.

First I soaked them and removed the sticky labels,
then dried and placed them upside down outside on some newspaper.

With some gold spray paint I had from a previous project I gave the bottoms of them a light
dusting of paint.
I also found some nice tall wine bottles and did the same to those.

End result!